
Flux Images Generation API Integration Instructions
This article will introduce the integration instructions for the Flux Images Generation API, which can generate official Flux images by inputting custom parameters.
¶ Application Process
To use the Flux Images Generation API, first go to the 辰汐ai Console to obtain your API Token for future use.

If you are not logged in or registered, you will be automatically redirected to the login page to invite you to register and log in, and after completing this, you will be automatically returned to the current page.
One API Token can call all services on the platform, and there is no need to apply separately for each service. The first application will grant a free quota for a free experience; when the quota is insufficient, you can recharge the general balance in the console.
📘 Complete documentation: Flux Images Generation API →
¶ Basic Usage
First, understand the basic usage, which involves inputting the prompt prompt, the action action, and the image size size to obtain the processed result. You first need to simply pass a field action with the value generate, and then we also need to input the prompt, as detailed below:
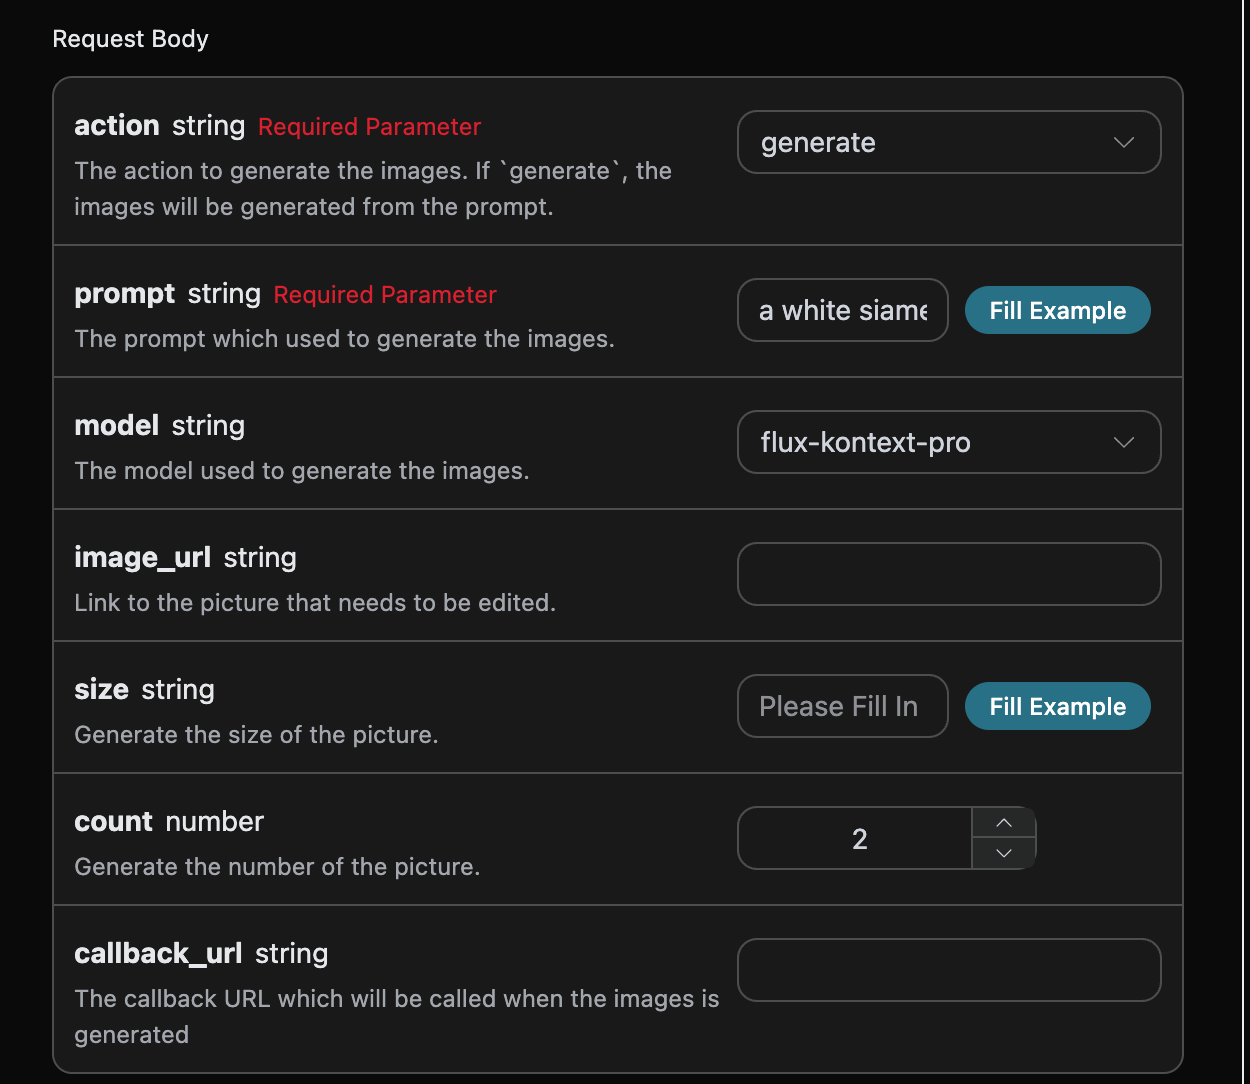
Here we can see that we have set the Request Headers, including:
accept: the format of the response result you want to receive, here filled in asapplication/json, which is in JSON format.authorization: the key to call the API, which can be directly selected after application.
Additionally, we set the Request Body, including:
action: the behavior of this image generation task.size: the size of the generated image result.flux-2-flex/flux-2-pro/flux-2-maxseries must pass in the image ratio (e.g.,1:1,16:9), pixel sizes like1024x1024are not accepted, and the default will return 400.count: the number of images to generate, with a default value of 1; this parameter is only valid for image generation tasks and is invalid for editing tasks.prompt: the prompt.model: the generation model, default isflux-dev; the latest flagship models areflux-2-pro,flux-2-max(higher image quality, must be used with the image ratiosize).callback_url: the URL to receive the callback result.async: optional, when set totrue, the interface immediately returnstask_id, and there is no need to providecallback_url, and then the result can be polled through the corresponding task query interface.
The parameter size has some special restrictions, mainly divided into width x height aspect ratio and x:y image ratio types, as detailed below:
| Model | Range |
|---|---|
| flux-dev | Supports aspect ratios 1024x1024, 1024x1792, 1792x1024, or image ratios |
| flux-pro | Supports aspect ratios 1024x1024, 1024x1792, 1792x1024, or image ratios |
| flux-2-flex | Only supports image ratios |
| flux-2-pro | Only supports image ratios |
| flux-2-max | Only supports image ratios |
| flux-kontext-pro | Only supports image ratios |
| flux-kontext-max | Only supports image ratios |
Reference image ratios: "21:9", "16:9", "4:3", "3:2", "1:1", "2:3", "3:4", "9:16", "9:21".
After selecting the parameters, the corresponding code will be automatically generated on the right side. Please confirm that the authorization header uses your own API Key before copying, and no real credentials should appear in the documentation and screenshots.
Click the "Try" button to test, and we obtained the following result:
{
  "success": true,
  "task_id": "5456c749-3bbb-4f10-9eb8-cfbcac297500",
  "trace_id": "ae4eecb8-1dd6-45b4-bfb3-a1c48872536e",
  "data": [
    {
      "image_url": "https://platform2.cdn.acedata.cloud/flux/5456c749-3bbb-4f10-9eb8-cfbcac297500.jpg"
    }
  ]
}
The returned result contains multiple fields, described as follows:
success, the status of the video generation task at this time.task_id, the ID of the video generation task at this time.trace_id, the tracking ID of the video generation at this time.data, the result list of the image generation task at this time.image_url, the link to the image generation task at this time.prompt, the prompt.
We can see that we have obtained satisfactory image information, and we only need to obtain the generated Flux image based on the image link address in data.
Additionally, if you want to generate the corresponding integration code, you can directly copy the generated code, for example, the CURL code is as follows:
curl -X POST 'https://api.acedata.cloud/flux/images' \
-H 'authorization: Bearer {token}' \
-H 'accept: application/json' \
-H 'content-type: application/json' \
-d '{
  "action": "generate",
  "prompt": "A photorealistic studio product shot of a frosted-glass perfume bottle on wet black slate, single softbox key light, water droplets, dark moody background, 85mm macro.",
  "model": "flux-2-pro",
  "size": "1:1"
}'
¶ Editing Image Tasks
If you want to edit a specific image, the parameter image_url must first pass in the link to the image that needs to be edited, at this time action only supports edit, and you can specify the following content:
- model: the model used for this image editing task, supporting
flux-dev,flux-pro,flux-kontext-pro,flux-kontext-max,flux-2-flex,flux-2-pro,flux-2-max. - image_url: the uploaded image that needs to be edited.
An example of filling in is as follows:
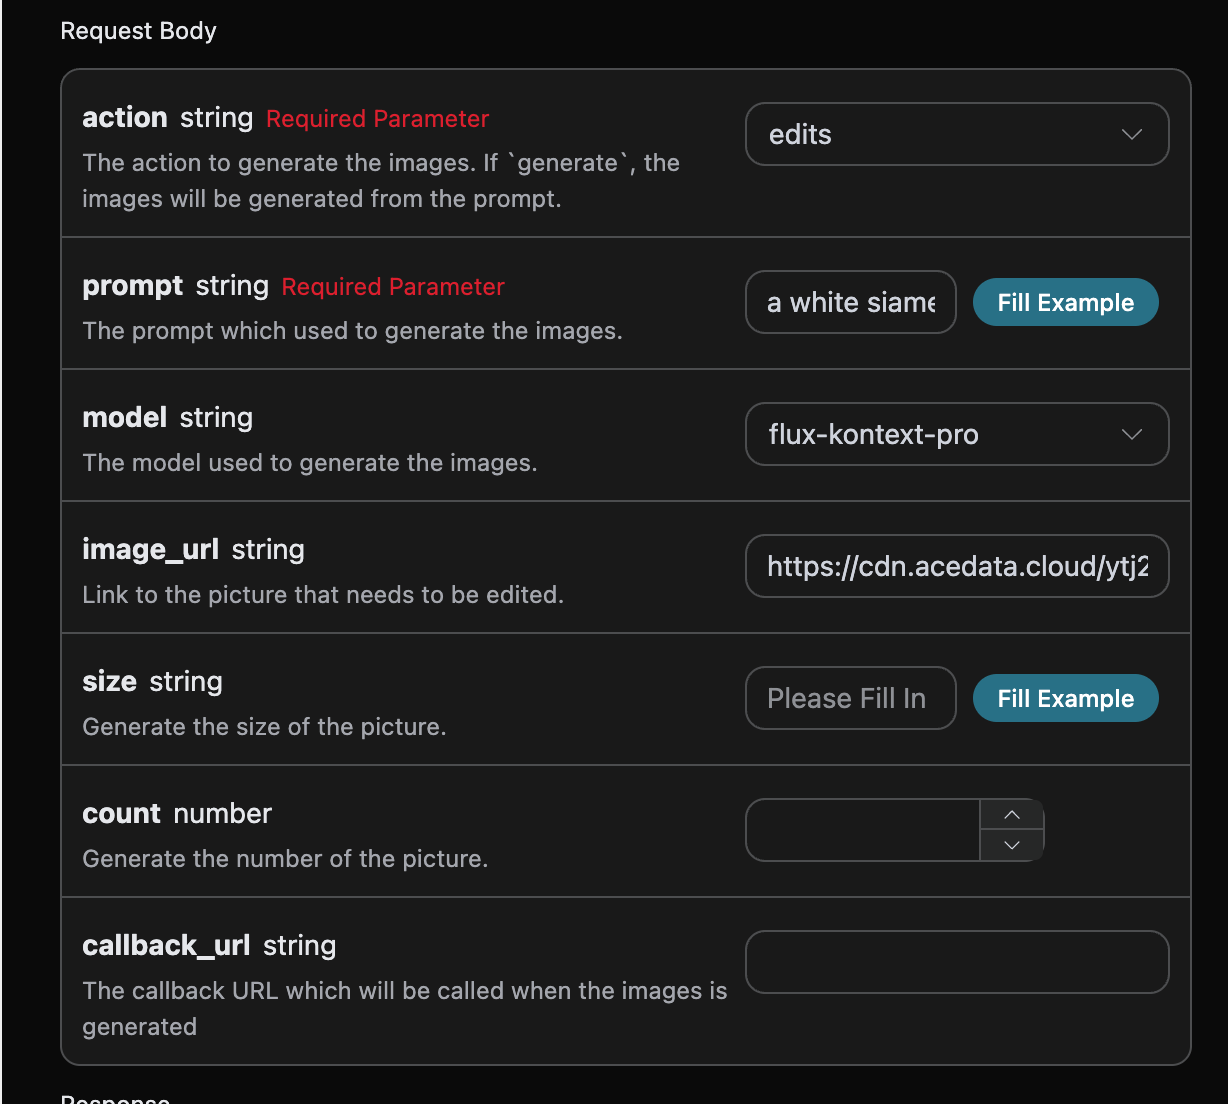
After filling in, the code is automatically generated as follows:
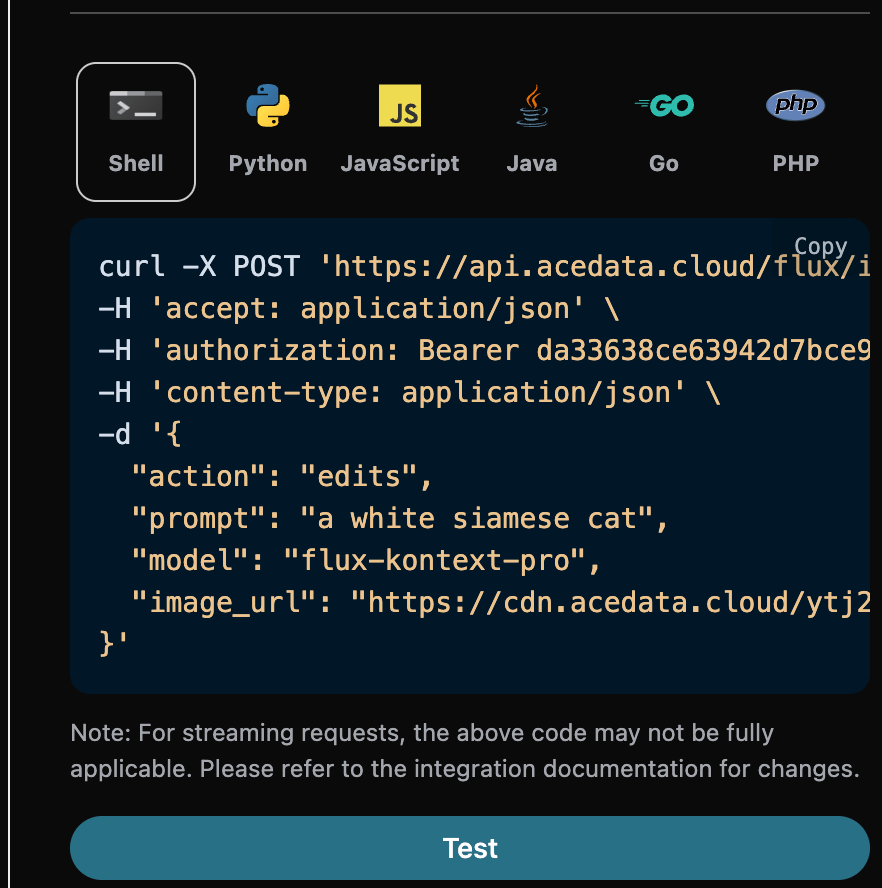
The corresponding code:
import requests

url = "https://api.acedata.cloud/flux/images"

headers = {
    "accept": "application/json",
    "authorization": "Bearer {token}",
    "content-type": "application/json"
}

payload = {
    "action": "edit",
    "prompt": "a white siamese cat",
    "model": "flux-kontext-pro",
    "image_url": "https://cdn.acedata.cloud/ytj2qy.png"
}

response = requests.post(url, json=payload, headers=headers)
print(response.text)
Clicking run, you can find that you will immediately get a result, as follows:
{
  "success": true,
  "task_id": "2a7979ff-1f77-4380-92c6-a2dc37c3b4c8",
  "trace_id": "732b65c0-48d9-49f7-b568-64e5acffe4c0",
  "data": [
    {
      "prompt": "a white siamese cat",
      "image_url": "https://cdn.acedata.cloud/e724d7f13d.png",
      "timings": 1752744073
    }
  ]
}
It can be seen that the generated effect is an editing effect on the original image, and the result is similar to the above text.
¶ Asynchronous Callback
Since the Flux Images Generation API takes a relatively long time to generate, approximately 1-2 minutes, if the API does not respond for a long time, the HTTP request will keep the connection open, leading to additional system resource consumption. Therefore, this API also provides support for asynchronous callbacks.
The overall process is: when the client initiates a request, an additional callback_url field is specified. After the client initiates the API request, the API will immediately return a result containing a task_id field, representing the current task ID. When the task is completed, the result of the generated image will be sent to the client-specified callback_url in the form of a POST JSON, which also includes the task_id field, allowing the task result to be associated by ID.
Let's understand how to operate specifically through an example.
First, the Webhook callback is a service that can receive HTTP requests, and developers should replace it with the URL of their own HTTP server. For demonstration purposes, we use a public Webhook sample site https://webhook.site/, and opening this site will provide a Webhook URL, as shown in the image:
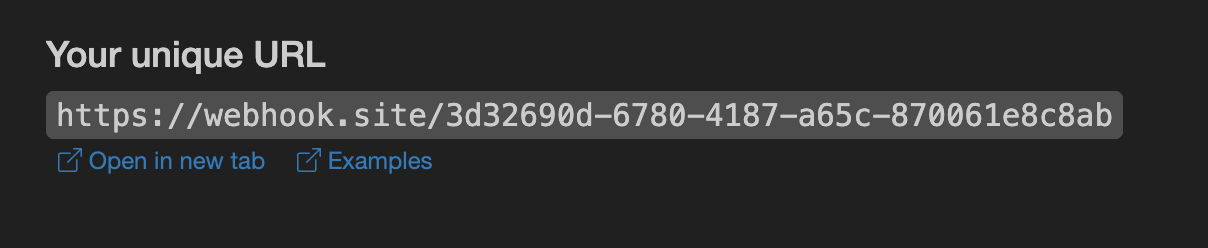
Copy this URL, and it can be used as a Webhook. The sample here is https://webhook.site/3d32690d-6780-4187-a65c-870061e8c8ab.
Next, we can set the callback_url field to the above Webhook URL, while filling in the corresponding parameters, as shown in the image:
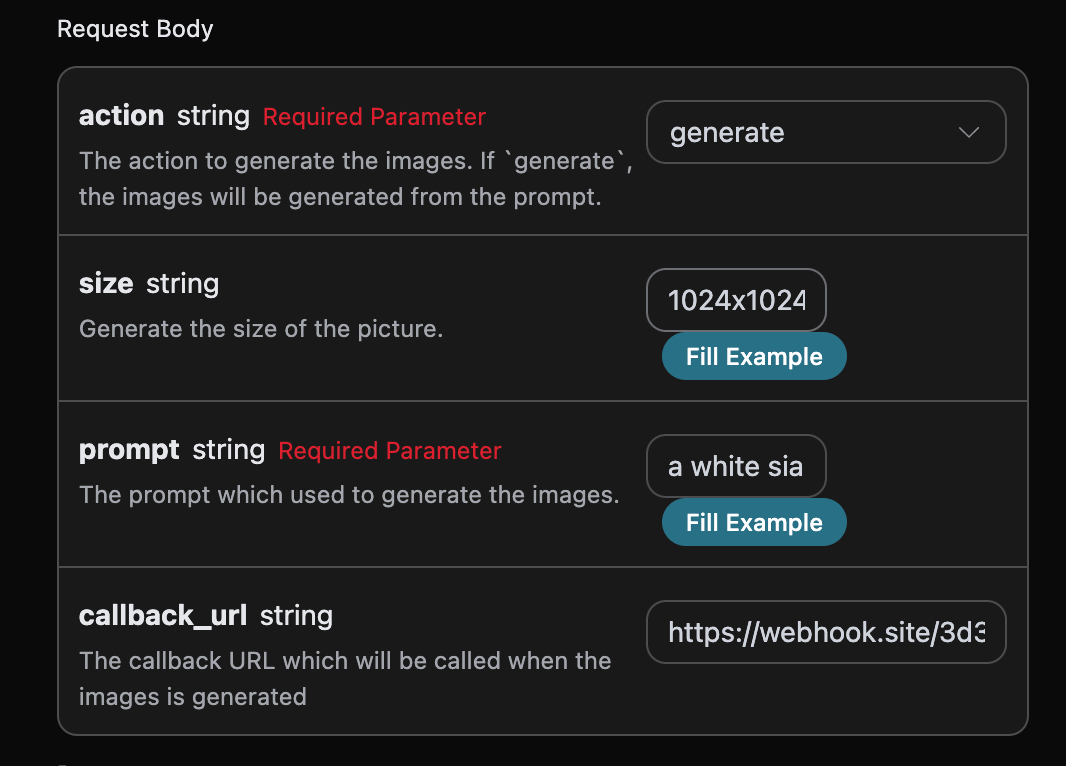
Clicking run, we can find that an immediate result is obtained, as follows:
{
  "task_id": "6a97bf49-df50-4129-9e46-119aa9fca73c"
}
After a moment, we can observe the result of the generated image at https://webhook.site/3d32690d-6780-4187-a65c-870061e8c8ab, as shown in the image:
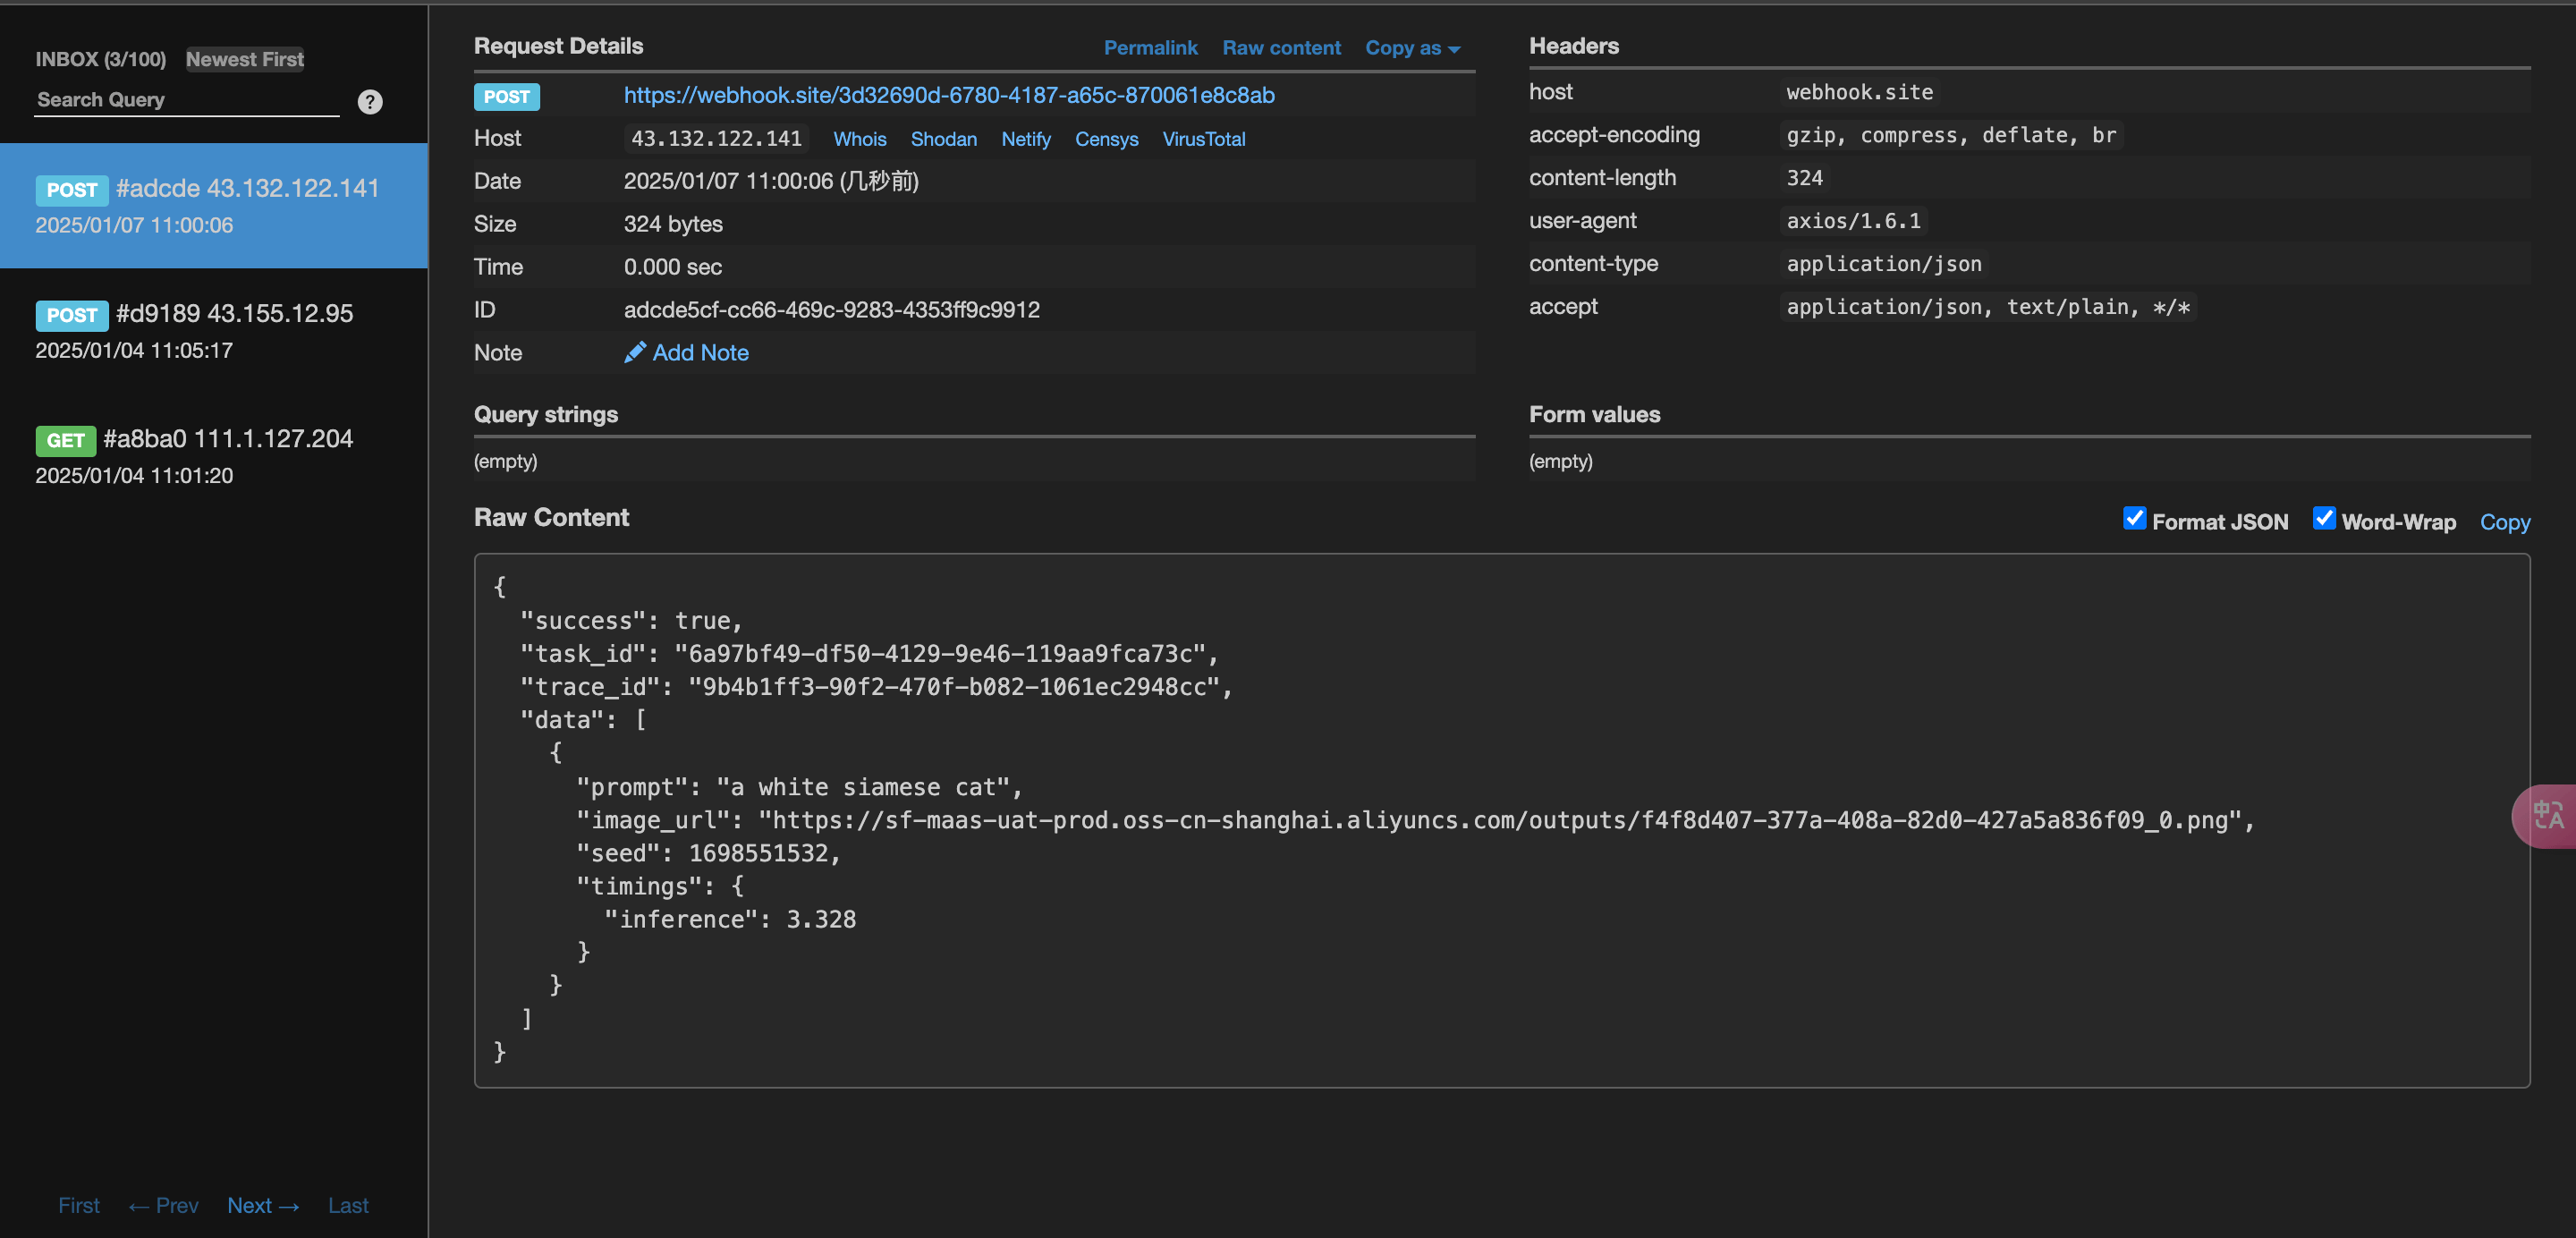
The content is as follows:
{
  "success": true,
  "task_id": "6a97bf49-df50-4129-9e46-119aa9fca73c",
  "trace_id": "9b4b1ff3-90f2-470f-b082-1061ec2948cc",
  "data": [
    {
      "prompt": "a white siamese cat",
      "image_url": "https://cdn.acedata.cloud/e724d7f13d.png",
      "seed": 1698551532,
      "timings": {
        "inference": 3.328
      }
    }
  ]
}
It can be seen that the result contains a task_id field, and the other fields are similar to the above text. The task can be associated through this field.
¶ Error Handling
When calling the API, if an error occurs, the API will return the corresponding error code and message. For example:
400 token_mismatched: Bad request, possibly due to missing or invalid parameters.400 api_not_implemented: Bad request, possibly due to missing or invalid parameters.401 invalid_token: Unauthorized, invalid or missing authorization token.429 too_many_requests: Too many requests, you have exceeded the rate limit.500 api_error: Internal server error, something went wrong on the server.
¶ Error Response Example
{
  "success": false,
  "error": {
    "code": "api_error",
    "message": "fetch failed"
  },
  "trace_id": "2cf86e86-22a4-46e1-ac2f-032c0f2a4e89"
}
¶ Conclusion
Through this document, you have learned how to use the Flux Images Generation API to generate images by inputting prompts. We hope this document helps you better integrate and use this API. If you have any questions, please feel free to contact our technical support team.